Video Basics
It's worth understanding a few high-level logistical principles that can help you create better course videos without needing to go to film school. This guide won't go into technical details or provide specific equipment recommendations (since those vary widely and quickly become dated), but instead focuses on three core elements that have the biggest impact on your video's clarity and effectiveness:
- Lighting: making sure you're visible and well-lit
- Framing: positioning yourself naturally in the shot
- Sound: ensuring your voice is clear and undistorted
We'll also include some additional tips to help streamline your recording workflow and avoid common pitfalls.
Lighting

|

|
Whether you're filming on your laptop, a phone, or an external camera, you're probably relying on the natural lighting in your space. And that's totally fine! But lighting can make a big difference in how clear and approachable your videos feel.
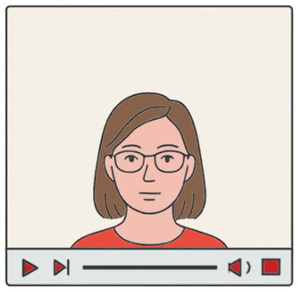
The goal is simple: make sure your face is evenly lit. Harsh shadows or strong backlighting (like sitting in front of a bright window) can make your video look gloomy or distract viewers. On the flip side, bright, direct light can wash you out. If possible, aim for soft, balanced lighting that lights both sides of your face without overwhelming the camera.
Here are a few easy ways to improve your lighting setup:
- Face a window, and definitely don't have one behind you. Natural light is great–just try to avoid being directly in the sunbeams.
- Use a desk lamp to eliminate shadows. If one side of your face is too dark, use the lamp on that side.
- Put a light behind your monitor pointing at your face. Even a simple LED desk light can work–especially if you can adjust the intensity.
- Consider a ring light or a clip-on light for your laptop or monitor. They're relatively inexpensive, adjustable, and often receive power via USB.
Framing
|
|
Framing is all about how you're positioned in the video window. Small adjustments can make a big difference in how polished and engaging your content feels.
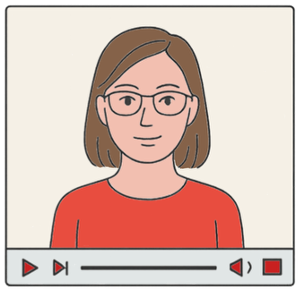
In most cases, the easiest and most effective approach is to put yourself in the center of the frame, with your eyes around the upper third of the screen and a little bit of space above your head. You don't need to be perfectly symmetrical, but avoid drifting too low or off to the side unless your video intentionally calls for it (like a demonstration or an over-the-shoulder effect).
You should also pay attention to your eyeline—try to position the camera at eye level so it feels like you're looking at the viewer and speaking directly to them. Looking too far up or down at the camera can create strange angles or be distracting. (No one wants to feel like they're towering over you—or looking up your nose.) If you're using slides or notes, this might take some adjustment, but the connection it creates is worth it. More on that in our article on performance tips.
Finally, take a moment to check what's visible in your frame. Is there a plant that makes it look like something's growing out of your head? A half-eaten sandwich? A pile of laundry? Make sure your background feels clean and distraction-free. Your viewers should be focused on you—not wondering what's going on around you.
Here are a few quick tips to improve your framing:
- Center yourself, with your eyes about one-third from the top of the frame.
- Raise your camera so it's level with your eyes. If you're using a laptop, stack books under it if you need to.
- Check your background for visual clutter or weird distractions.
- Do a quick test recording to see how things look. Make adjustments as needed.
Sound

|
|
In most course videos, your voice is the single most important thing. An oddly-framed or poorly-lit webcam image is forgivable, but muffled or distorted audio? Not so much. In fact, some research suggests that poor audio can have a bigger negative impact on student engagement and learning than poor visuals.
Here's the most important tip: do a test recording. Listen back to it. If your voice sounds overly loud or "crunchy," that may be a sign of clipping—where the microphone can't keep up with the volume and ends up distorting the signal. Unfortunately, this type of distortion can't be fixed later. A quieter recording, on the other hand, can usually be boosted without losing quality.
Tips for capturing clean audio:
- Record a short sample and listen to it. Make sure your voice sounds natural and undistorted.
- Try to avoid touching or bumping your desk if you're using a desktop microphone during a recording.
- Choose a quiet recording location. Closets (for audio-only recordings) or carpeted rooms can actually work surprisingly well to reduce sound bounce. Ensure that you're recording at times that won't have audio distractions like landscaping or construction.
- Consider getting a pop filter to reduce plosives (heavy "p" or "b" sounds that puff air into the microphone), or a boom arm to isolate the mic from any noise from your desk.
Other Practical Tips
Though lighting, framing, and sound form the "trifecta" of basic filmmaking principles, there are a number of other tips that may assist when you film your course videos.
Record a Test Video (Yes, Every Time)
We mentioned this earlier, but it's worth repeating: always do a quick test recording before you dive into a longer video or series of videos. Make sure your audio sounds clean, your face is framed well, and your lighting doesn't make you look like a mysterious silhouette (or a spooky ghost). As they say in the film industry*, "Fixing it in pre saves you time in post."
* Note: may not actually be said in the film industry.
Leave Yourself Breadcrumbs (Editing Cues)
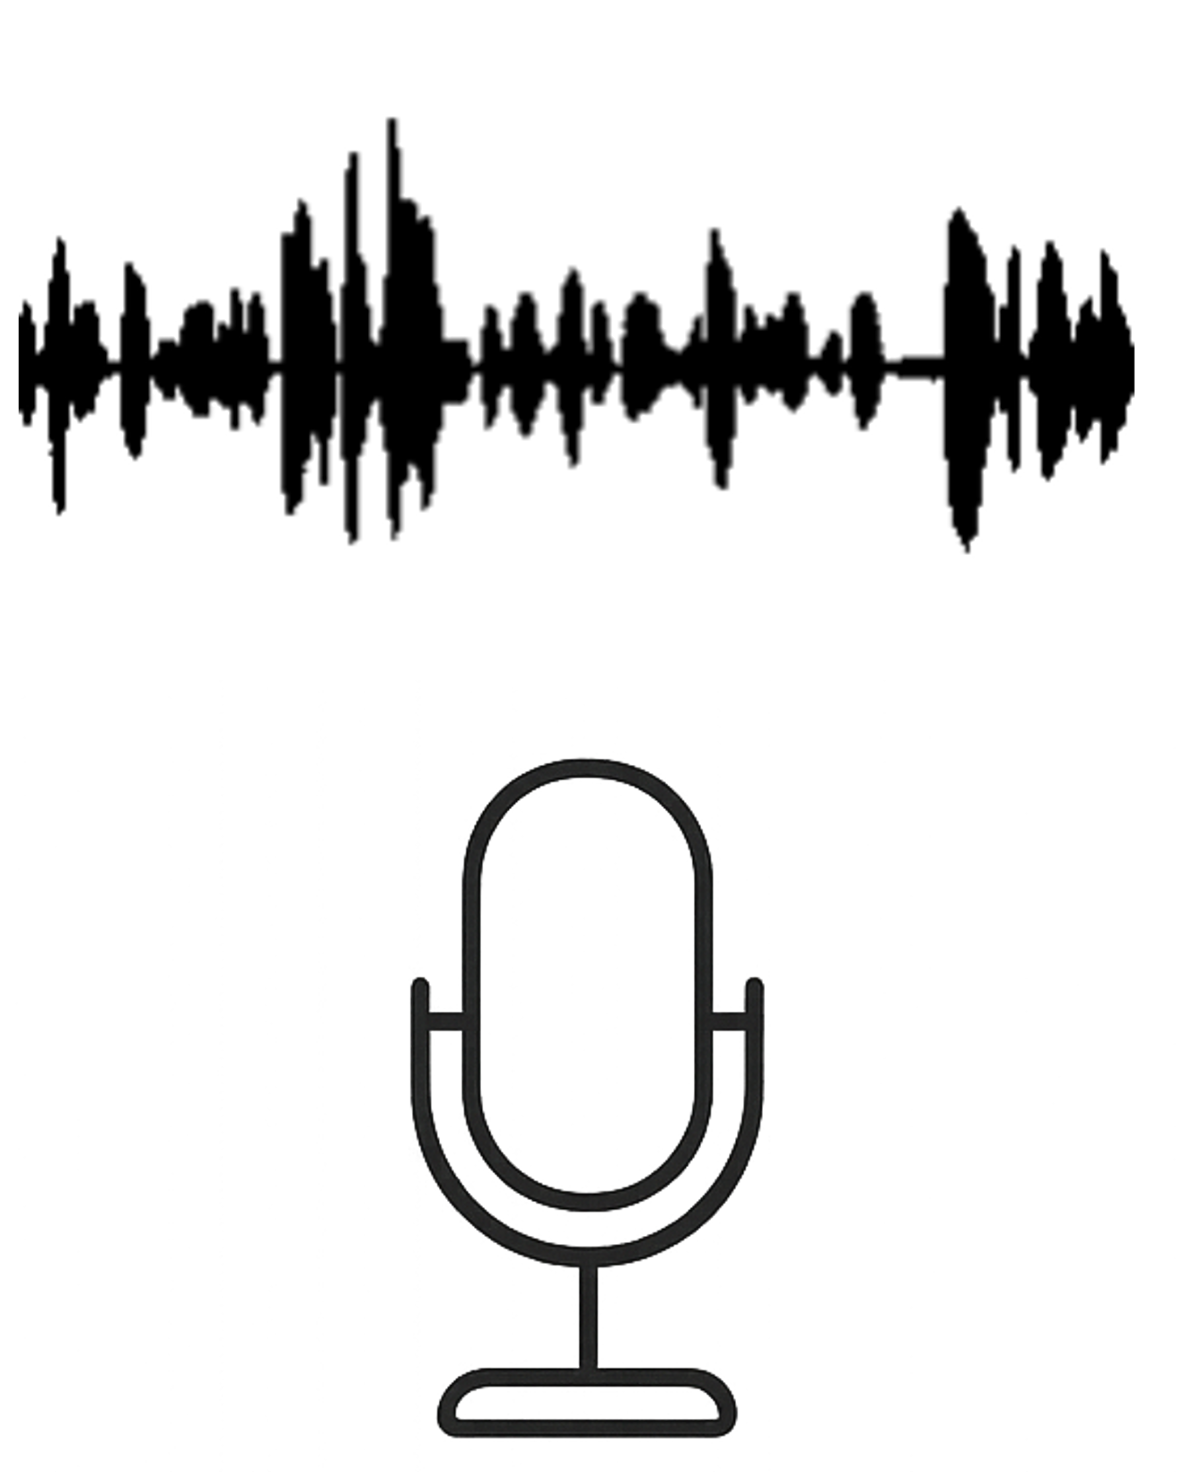
Mistakes happen—and if you're editing your own videos, it helps to have a reliable signal that marks the spot where something went wrong. The simplest method? Pause and stay completely silent for 5–10 seconds. That silence creates a visible gap in your audio waveform.

If you're using Kaltura's video editor, you'll see a representation of the audio on top of the timeline, with the height referring to the volume level. Long silences should be easy to spot and jump to, so you don't have to scrub through your video to find the mistake. When you do start speaking again, you may want to tell your future self what you intend to do. (E.g. "I'm going to go back to the start of this slide.")
Film in Batches
It's hard to hit your stride if you're stopping and restarting constantly. If you're already set up, consider recording multiple segments in one session. Once your camera angle, lighting, and mic levels are dialed in, you can focus on delivery instead of logistics—and cut down on setup time in the long run.
Max Out Your Quality Settings (If Possible)
Whether you're using Zoom, your webcam software, or a screen recorder, take a moment to look at the audio and video quality settings. Some tools default to lower resolution or compressed audio, even when your device can do better. Look for settings like "HD video," "original audio," or "high fidelity" modes—and enable them if your computer can handle it.
Conclusion
You don't need professional gear—or professional skills—to create a great instructional video. The most important thing is clarity: your students should be able to see and hear you, and the video should support the course's learning goals.
Instructional video is just one part of the learning experience. Slide design, pacing, length, and tone all matter, too. Be sure to check out our other best practices articles for practical tips on those topics as well.