On-Camera Performance Tips for Instructors
Being an excellent lecturer isn't just about knowing your material — it's also about how you perform. In front of a live audience, humor, excitement, and empathy can help create engagement, connection, and communitas. But teaching to a camera is different: without audience feedback or shared energy, it can be harder to find the right cadence or sense of connection.
This guide offers evidence-based strategies and practical tips to help you perform effectively on camera. Drawing from multimedia learning theory and years of production experience, we'll explore how instructors can maximize the impact of their recorded teaching.
The six tips we'll cover:
- Rehearse before you film.
- Use a conversational tone.
- Convey enthusiasm.
- Maintain eye contact with the camera.
- Direct students' attention.
- Use language that describes relevant visual information.
Throughout the article, look for "Bottom Line" tips that summarize the key takeaways for easy application.
Rehearse
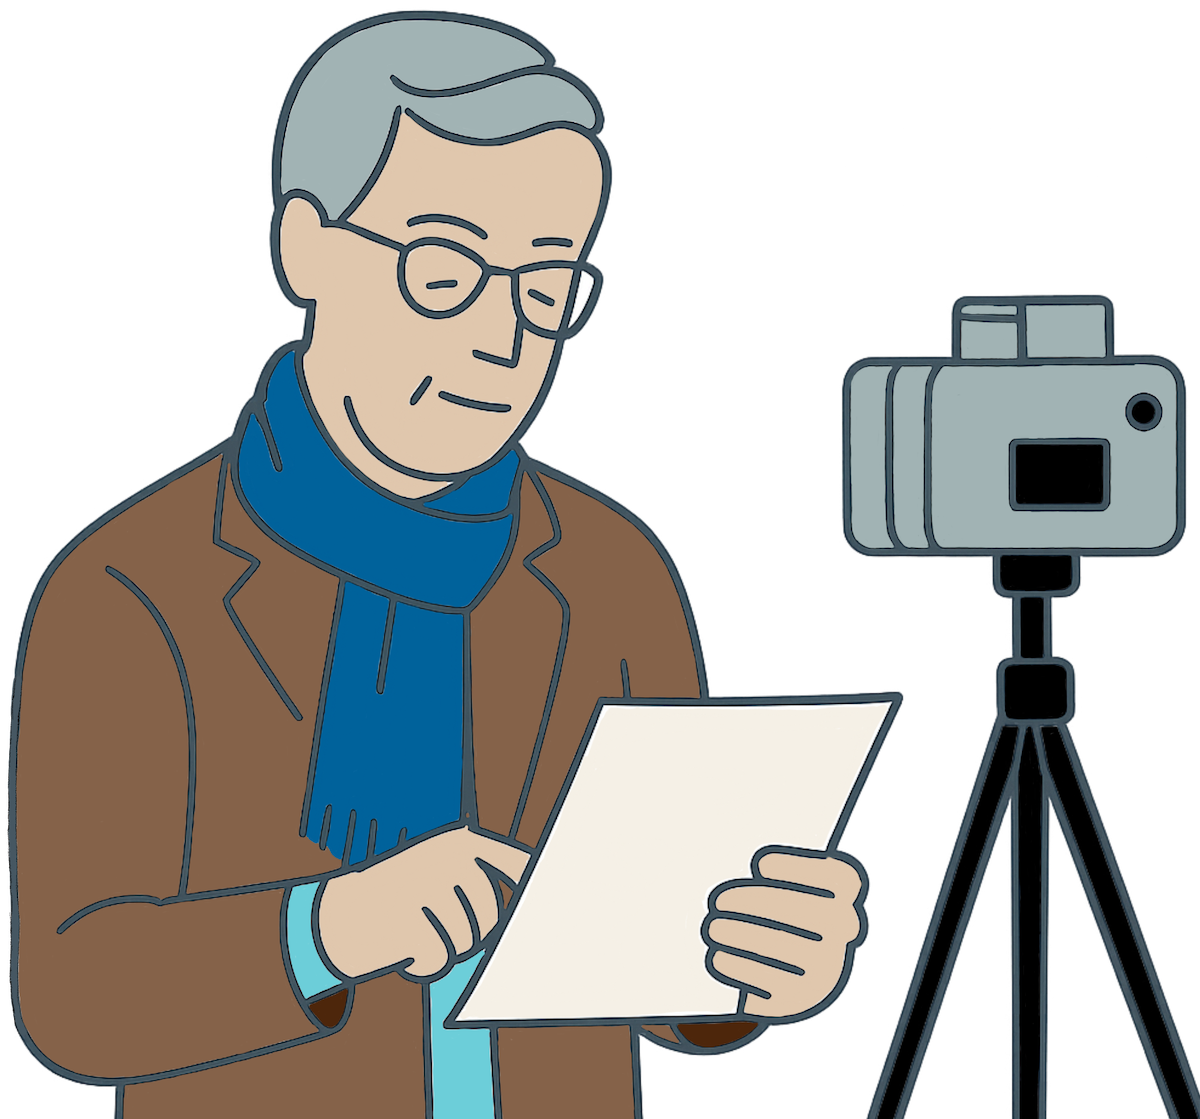
Teaching is, in many ways, a form of performance. Like artists working across different media, effective instructors use creativity, intuition, and expression to spark curiosity and build meaningful connections with their audience. In live settings, feedback from students—facial expressions, questions, body language—helps shape and guide that performance in the moment.
But on camera, that feedback loop disappears and can make your performance harder to calibrate. This is why rehearsal becomes so important: it's not just about knowing what to say—it's about building the confidence and clarity to say it well, even in the silence of a studio or home office.
Whether you're speaking from memory, using notes, or working from a full script, practice is essential. Read your script aloud in advance. Perform your material a few times, even if it's just to your laptop. Doing so can help you Identify awkward or overly formal language, refine your tone and pacing, and catch any unnecessary content that might distract from your key message.
If you've read our article on the design of visual materials, you know your visuals should support—not duplicate—your spoken content. Rehearsing helps ensure that what you say complements what's on screen without overwhelming your students' cognitive load.
And beyond all that, rehearsing helps free up mental space. When you're confident in your content, it becomes much easier to focus on how you're delivering it—looking into the camera, conveying enthusiasm, or engaging in natural, conversational speech. In that way, rehearsal supports nearly every other tip in this guide.
The Bottom Line
Rehearsing your course video performance will help you catch errors, adjust the tone, reduce extraneous materials, and increase your confidence.
Be Conversational
Your tone and choice of language can have a powerful impact on how students engage with your video. Research in multimedia learning consistently shows that people learn better when instructors adopt a conversational, informal style rather than a formal or academic one (Mayer, 2009).
This is part of what Mayer calls the Personalization Principle—the idea that social cues like tone of voice, phrasing, and even pronoun use can create a sense of partnership between the instructor and the learner. When an instructor sounds like they're speaking directly to the viewer, students are more likely to feel engaged, motivated, and mentally present (Fiorella et al., 2019).
If you're working from a script, try reading it out loud to check how it actually sounds. If it feels stiff or overly academic, consider making small changes to loosen it up:
- Use contractions ("you're" instead of "you are")
- Add informal phrasing where appropriate ("gonna," "let's take a look," etc.)
- Include personal pronouns like "you" and "I" to foster connection (including saying things like "your lungs" rather than "the lungs")
These simple shifts may seem subtle, but they encourage students to interpret the content as personally relevant, which can support deeper processing and retention (Mayer & Fiorella, 2022).
And remember—this isn't about dumbing things down. It's about sounding like a real human. A little warmth and natural language goes a long way in helping your video feel like a meaningful learning experience.
The Bottom Line
A conversational tone helps foster a sense of connection with your students, increasing their motivation to engage with your video and process the material more deeply.
Convey Enthusiasm

Enthusiasm can be contagious—even through a screen. When you show excitement about your topic, your students are more likely to feel engaged and motivated to learn. Research in multimedia learning has shown that enthusiastic delivery enhances students' sense of connection with the instructor and can increase how much of a video they actually watch (Brame, 2016; Guo et al., 2014).
That doesn't mean you need to turn into a game show host. It simply means letting your interest in the material shine through. If there's a concept you find elegant, powerful, or surprising, say so. That energy helps spark your students' curiosity.
Of course, summoning enthusiasm on camera can be a challenge, especially when you're filming alone without any live feedback. In those cases, a little intentional preparation can help. Some instructors find it helpful to do light physical warmups or vocal exercises before filming. Others revisit a favorite example or remind themselves why the topic matters in the real world. Find what works for you to bring your energy up before you hit "record."
And don't worry if you think you're speaking too quickly—studies suggest that fast, energetic delivery often correlates with higher engagement. What matters most is that your energy reflects your genuine interest in helping students understand and connect with the material.
Here are some examples of what authentic enthusiasm might sound like:
- "I've always loved this part of cell biology; it's like watching a perfectly choreographed dance."
- "Eigenvalues may not sound exciting on the surface, but they've shaped how we build bridges since the Tacoma Narrows collapse."
- "What Shakespeare is doing here is absolutely savage, and that's what makes it so brilliant."
- "Here's where behavioral economics gets fun—people act completely irrationally, and the patterns are hilarious and important."
When your enthusiasm is grounded in real interest, it encourages students to lean in and care too.
The Bottom Line
Authentic enthusiasm boosts student motivation and engagement—so find what excites you about the material and let that energy come through.
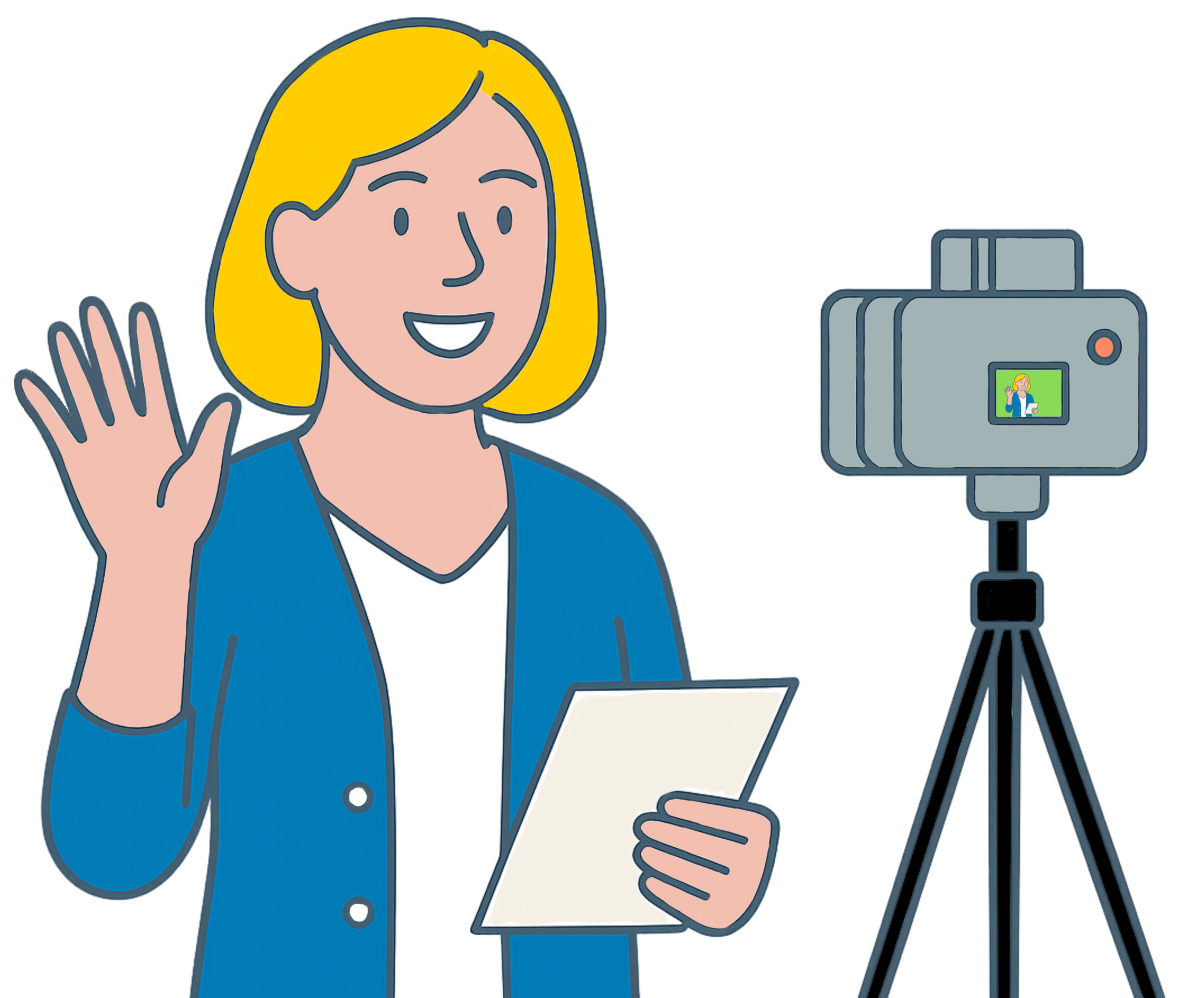
Look at the Camera
In a classroom, your gaze naturally shifts. You make eye contact with a student or two, check your notes, glance at your slides, respond to another student. On camera, however, you don't get those visual cues from students, and your viewers don't get the nonverbal feedback from you that helps build trust and connection. This is why eye contact with the camera lens matters. It's a subtle but powerful way to signal presence, foster engagement, and make your video feel personal rather than performative.
In multimedia learning research, eye contact is considered a social cue—one of several features (like tone, gesture, and visible enthusiasm) that can help viewers feel like they're in a real interaction rather than passively watching. This sense of social presence has been linked to greater motivation and deeper processing of material.
That said, maintaining eye contact with a camera isn't always easy—especially when you're also managing slides, notes, or recording software. If you're presenting from home, try to position your camera as close as possible to your speaker notes or slide thumbnails. For example, when using Presenter View in PowerPoint, consider placing your webcam just above or beside where your notes appear on screen. It's not perfect, but it helps keep your eyeline close to the lens while still giving you visual access to your materials.
(You can find more practical suggestions for camera framing and setup in our article on recording basics for instructors.)
It's also important to recognize that eye contact isn't always the goal. Sometimes your students need to be focused on what's on screen—a diagram, a formula, a demonstration, etc.—and in those moments, it's more helpful to look at or point to the visual aid than to look at the camera (if possible). In this way, eye contact is just one tool among many. The key is intentionality: look at the camera when you're establishing connection or guiding attention back to yourself; look away when you're drawing attention to something else.
And, as with so many aspects of performance, rehearsal helps. If you're comfortable with your material and setup, you're more likely to maintain natural, confident eye contact without appearing stiff or distracted.
The Bottom Line
Looking at the camera can foster a sense of connection and increase viewer engagement—but it's not about locking eyes constantly. Use it strategically to support your message, and make your setup work for you.
Direct Students' Attention
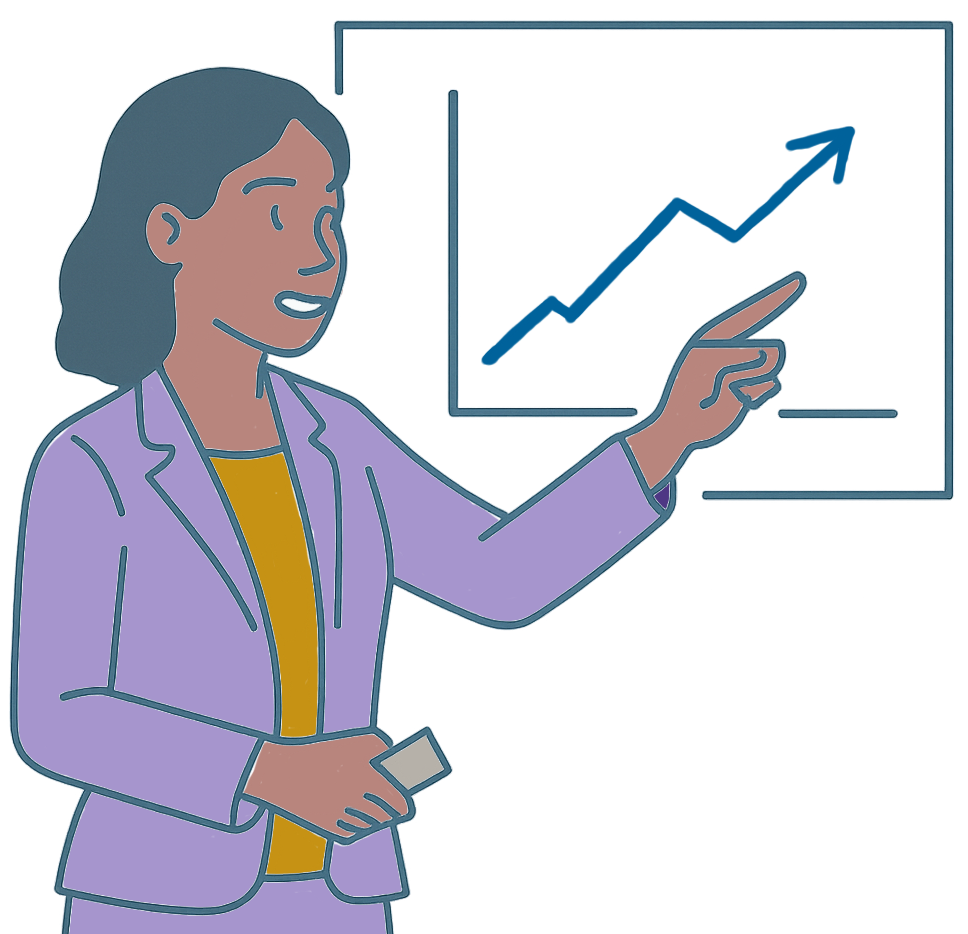
One of the most powerful ways to improve learning in video is surprisingly simple: help students know exactly where to look.
This is part of a broader principle in multimedia design often referred to as signaling—that is, using visual or verbal cues to highlight what's important. Research shows that when instructors guide attention to key elements, students are more likely to retain and understand the material (Mayer, 2009).
You might do this by:
- Pointing at a specific part of a diagram
- Emphasizing a detail in your voice ("Notice how the curve flattens out here...")
- Using animations in PowerPoint to reveal bullet points one at a time
- Highlighting or dimming parts of the screen during post-production
These strategies aren't just aesthetic—they're about supporting cognition. Students can only take in so much at once. If everything on screen competes for their attention, they may miss what matters. By directing their attention, you're reducing mental clutter and helping them process the material more effectively.
And if you're designing your slides or working with an editor, remember that how and when information appears is as important as what appears. Avoid dumping all your content onto the screen at once. Instead, build your visuals as you speak. Introduce one idea at a time, then move to the next.
(This aligns with a broader set of principles we call segment, signal, and weed—break ideas into manageable parts, draw attention to what matters, and cut anything that doesn't directly serve your learning goals. We'll explore that in more detail in a separate article.)
The Bottom Line
Use verbal or visual cues—like gestures, emphasis, or animation—to direct students' attention to what matters most. It helps reduce distractions and supports deeper learning.
Use Illustrative Language

When you're recording a course video, it's easy to focus on what you're saying and forget that some of the most important information may be visual, whether it's a slide, a graph, a software demo, or a gesture toward the screen. But for students who can't see the screen well—or at all—that information isn't available to them unless it's described out loud.
This is where illustrative language comes in.
By narrating what's happening visually—especially when things change—you're ensuring that every student can follow along. This isn't just an accessibility issue for learners who are blind or have low vision. It's part of a broader approach known as Universal Design for Learning, where the goal is to make materials that work for the widest range of learners without requiring special accommodations.
And it turns out, clear, descriptive narration benefits everyone. When you describe what's changing in a graph, or call out what part of the screen you're referring to, you help sighted students focus better and reinforce your message through another modality.
Examples of strong illustrative narration might include:
- "Notice how the blue line drops off sharply after March—that's the impact of the policy change."
- "Let me introduce our guest speaker, Professor Kovacs, who's joining us on screen now."
- "I'm clicking the 'Edit' menu at the top, and selecting 'Paste Properties.'"
- "As I raise the knee slowly, you can see what's happening: the cartilage compresses in the socket."
The Bottom Line
Describe visual elements and changes out loud as you go. It makes your content more inclusive for learners with vision impairments—and clearer for everyone else.
References
Brame, C. J. (2016). Effective educational videos: Principles and guidelines for maximizing student learning from video content. CBE—Life Sciences Education, 15(4). https://doi.org/10.1187/cbe.16-03-0125
Fiorella, L., Stull, A. T., Kuhlmann, S., & Mayer, R. E. (2019). Instructor presence in video lectures: The role of dynamic drawings, eye contact, and instructor visibility. Journal of Educational Psychology, 111(7), 1162–1171. https://doi.org/10.1037/edu0000325
Guo, P. J., Kim, J., & Rubin, R. (2014). How video production affects student engagement. Proceedings of the First ACM Conference on Learning @ Scale Conference, 41–50. https://doi.org/10.1145/2556325.2566239
Mayer, R. E. (2009). Multimedia learning (2nd ed.). Cambridge, England: Cambridge University Press.
Mayer, R. E., & Fiorella, L. (2022). Principles Based on Social Cues in Multimedia Learning. In The Cambridge Handbook of Multimedia Learning (pp. 277–285). Essay, Cambridge University Press.